Tello Passport
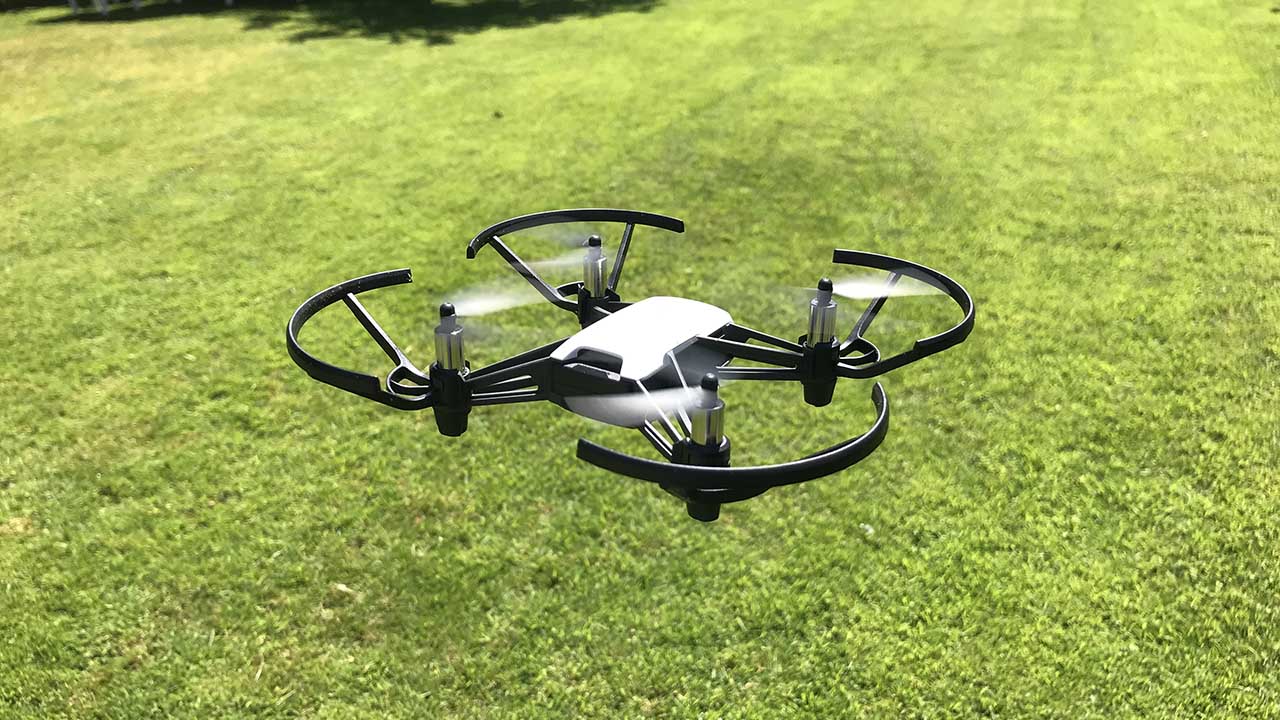
This set of practicals for the virtual BWSI @ Home utilize the DJI Tello Drone and its Python SDK. All the challenges should be completed using Python >= 3.6.
SDK documentation for the djitellopy library is available here. As of December 2021, this repository is more actively maintained than DJI’s official repository There are also lots of great YouTube tutorials if you get stuck.
The content on this page is adapted from the PowerPoint slide deck used to track student progress. As this page is a work in progress, suggestions are welcome.
Unit 1 - Connection and Position Control
In this unit you will write code to connect to, receive telemetry from, and send commands to your Tello drone to allow you to fly in position control.
Challenges include:
Connect to your drone
Display drone telemetry
Fly your drone in position control
Fly around objects in your house
If you get stuck, refer to the resources page and reach out to other students and your instructors for help!
Connect to Drone
Write a simple script in your IDE of choice to initialize your Tello, connect to it over Wi-Fi, and display some basic information about the drone (e.g. battery percentage) to confirm that you have successfully connected. When done, take a screenshot of your python output where you printed your drone information and show it to your instructors. You may run into seem errors establishing a socket connection through the SDK. Make sure you read the documentation FAQs before asking for help.
Take Off and Hover
Write a script to connect to your Tello the same way you did in the previous challenge, but now, have the drone takeoff, hover for a certain period of time (e.g. 3 seconds), then land. Hint: use the sleep() function from the time package to have the drone hover before it lands. When done, take a picture of your Tello with your phone while it’s hovering.
Controlled Flight
Write a script to fly around your room via commands that tell the drone to move a specific distance. (e.g. make your drone fly in a square) Hint: The move() and rotate_clockwise() functions will help a lot! Take a video on your phone and embed the link on the next slide. YouTube unlisted might be a good way to do this if you have an account.
Fly Around an Object
Write a script to fly around a specific object in your room via commands that tell the drone to move a specific distance. (e.g. fly around a chair) Get creative!!
Take a video on your phone and upload to an unlisted YouTube video. Think - where is programming a predefined series of instructions like this likely to be useful, and where will it fail?
Unit 2 - Tello Computer Vision
In this unit you will write code that allows you to stream video being taken by your Tello camera drone via python’s open source computer vision library (Open CV).
Detect ArUco Markers
Write a simple script in your IDE of choice to stream video from your Tello’s camera and display via OpenCV. Hint: Don’t forget to use the streamon() and get_frame_read() functions from the djitellopy package! When done, take a screenshot of the opencv window with the Tello camera pointing at your face with your face shields on and paste the screenshot on the next slide to show us that you’ve completed the challenge!
Generate your own ArUco Markers via this link
Standard Parameters: Dictionary - 5 x 5 Marker size, mm - 150
Feel free to modify the Marker ID. You might need multiple ArUco tags for future project work!
Now use the aruco module from the opencv-contrib-python package to detect aruco markers from your Tello’s live camera feed. The goal is to detect ID numbers and be able to return the pixel locations of the four corners of the aruco markers that appear in your video stream.
Note:
You may need to do a significant amount of research on your own for this challenge but do not be afraid to reach out to your peers and instructors for help. When done, take a screenshot of the opencv window that pops up with the aruco marker detected by the script your wrote.
Why do we use ArUco Tags?
AR tags, or more specifically, aruco markers are helpful features that we can utilize when attempting autonomous flight because they are easily recognizable by computer vision algorithms that we write, can convey information based on their ID numbers, and can tell us about our drone’s relative distance and orientation from the markers
When flying autonomously, your drone will need to know it’s relative distance and orientation to the aruco marker that it detects. To know this information, you will need to extract properties of the aruco marker that that are not given to you by default by the function used in the previous section.
Finding Center of Tags
Since you are given corners, you can create a function that finds the average side length of the aruco marker and another that sets a target for the drone to follow at the center (centroid) of the aruco marker. Write a python class called Marker with a constructor that takes in the ID and the four corner values of the aruco marker. When the constructor is called to create an object, call functions (that you will write as well) to calculate the marker’s average side length and centroid and store these values as object attributes that can be referenced when scanning markers in your autonomous flight scripts.
Calculating Distance and Orientation
Now we have information about how far our drone is from the aruco marker. (average slide length, more pixels = closer, less pixels = farther) We also know which direction the drone is pointing relative to the marker based on the location of the centroid to the middle of the video stream output (a little to the left, a little above, etc.). This is great information, but how do we know where exactly our drone is relative to the marker?
This requires us to look at the shape of the marker.
Brainstorm a method for determining orientation and position relative to the markers.
Create another attribute in the Marker class that gives an indication of orientation and position relative to the markers.
Hint:
This has to do with the camera’s perceived shape of the marker. You may also need to write one or more helper functions in the Marker class for determining this value. When done, write an explanation of what you came up with and provide supporting images/videos.
Unit 3 - Tello Control
In this unit you’ll be using the knowledge you just acquired of PID and controls to write code to fly the drone semi-autonomously and incorporate autonomous components as you go.
Fly in a Perfect Circle
Write a script similar to Unit 1 Challenge 3, except this time, use the send_rc_control() function and command your drone to fly in a perfect circle.
Yaw ArUco Marker Tracker
Write an algorithm that commands the drone to takeoff, fly up to a certain height, and locate aruco markers. Then, adjusting only the yaw parameter of the send_rc_control() function, have the drone remain in the same position but autonomously adjust it’s orientation to face and track the aruco marker.
Hint:
This may necessitate the implementation of a PID controller. Think of how you can utilize the code you wrote in Unit 2 to help you determine a way to calculate error to help with PID implementation. When completed, film a video of you walking around your drone with an aruco marker in hand while your drone autonomously tracks the marker and adjusts its yaw to face the marker.
Stationary ArUco Marker Tracker
Tape your marker on the wall. Then write a script to have the drone take off, locate the marker, and autonomously adjust all four parameters of the send_rc_control() function to command the drone to be flying right in front of the marker at a predetermined distance. This distance is up to you to determine. The goal is to implement PID controls for all four parameters such that if the drone were to be nudged/pulled/pushed during flight, it would quickly correct and return to the set point.
Challenge Warning:
This is a tough challenge so get as far as you can and reach out to your peers and instructors for help. Post a video of your final progress when complete.